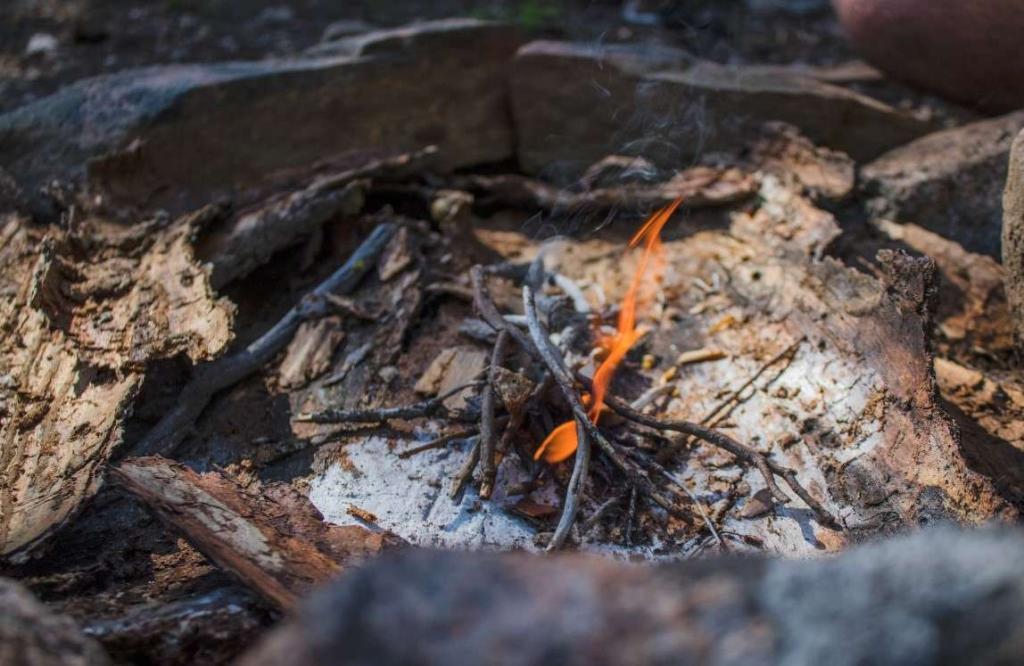
Fire Starting Techniques for Campers: A Comprehensive Guide to Building a Campfire Without Matches
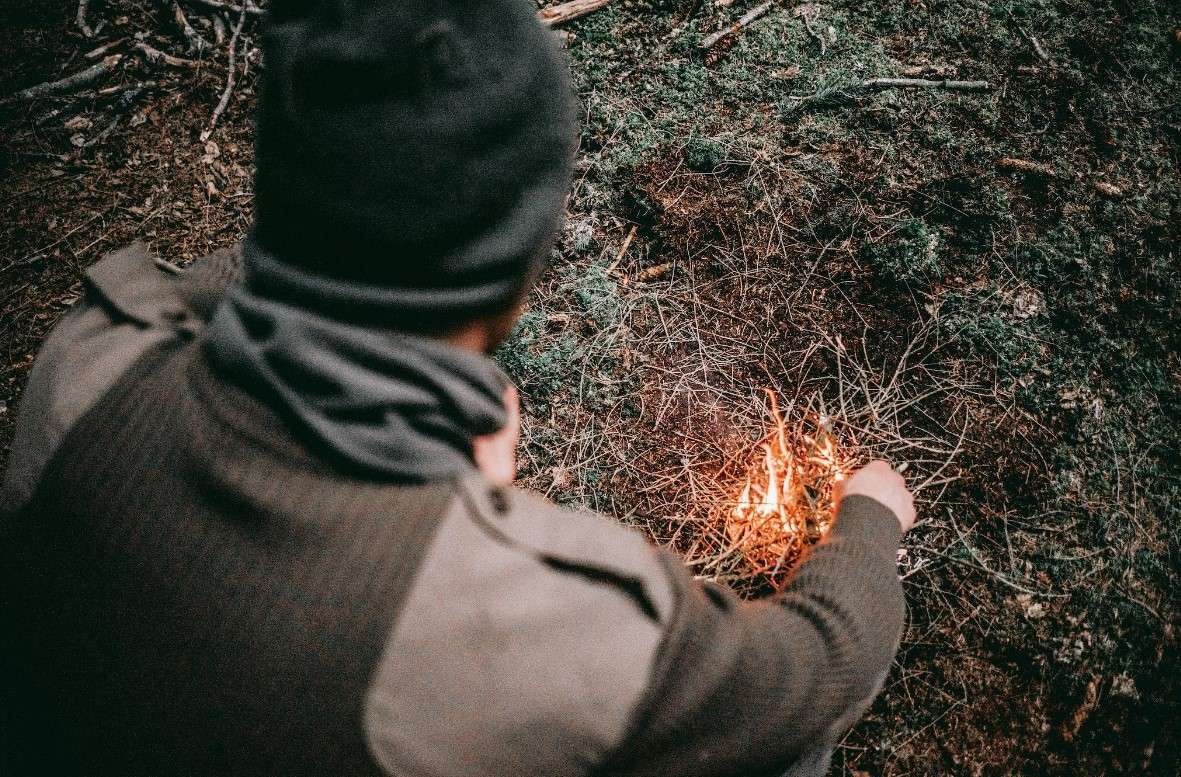

With over 30 years of wild camping and bushcraft experience, I’ve learned that understanding the art of fire starting is a key skill to master. Fire serves multiple crucial functions when camping, from providing warmth and enabling cooking to being a source of light and comfort. Understanding certain principles and techniques can transform this seemingly daunting task into a simple and enjoyable activity.

Fire starting involves more than just dry leaves and twigs; it’s a complex process that requires a combination of suitable materials, appropriate techniques, and safety precautions.

Our comprehensive guide below aims to equip fellow campers with essential knowledge and skills to safely build a campfire, drawing from time-tested methods and practical tips.

Let’s get started!

Understanding the Basics of Fire Starting

Fire starting, at its core, is about creating and controlling a chemical reaction. The basic elements involved in this process are oxygen, fuel, and heat, often referred to as the “fire triangle”. Understanding how these elements interact can make the difference between a campfire that thrives and one that quickly dies out.

The Role of Oxygen in Fire Making

Oxygen plays a critical role in fire creation. It is the catalyst that allows the other two components of the fire triangle, heat and fuel, to react. Without sufficient oxygen, a fire will struggle to ignite or stay alight. The oxygen feeds the flame and supports combustion, making it a vital component in the fire-making process.

The Importance of Quality Fuel

The choice of fuel significantly influences the success of your campfire. The right fuel reaches the necessary temperature for combustion, releasing gas, known as smoke, and heat – the very reasons we gather around a fire. For instance, wood needs to reach about 300°F (150°C) to decompose and ignite. However, the shape and size of the fuel affect how easily it catches fire and burns. Smaller pieces of wood or dry leaves can ignite quickly, providing the initial spark for larger logs that take longer to heat.

The Spark: Initiating the Fire

The spark is the initial heat source that kick-starts the combustion process. It can be generated using various methods, ranging from traditional friction-based techniques like the hand drill or fire plow to using matches or a lighter. For instance, the hand drill method involves spinning a stick against a base to create friction and heat, resulting in an ember. You can then gently blow on this ember, transferring it to a tinder bundle to ignite the fire.
Essential Materials for Starting a Fire

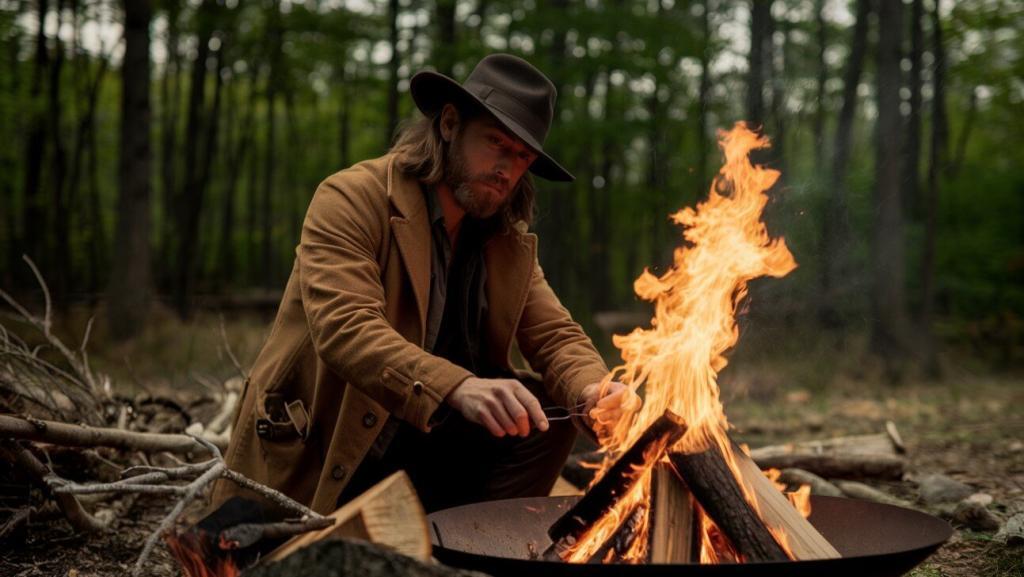
Starting a fire is a fundamental skill for any camper. It requires the right materials and a basic understanding of how fires work. The essential components you need are tinder, kindling, and firewood. These are the building blocks of any fire, and each plays a vital role in the fire-starting process. You can source these materials from your camping environment or bring them along in your camping gear.

Tinder: The Initial Burn Material

Tinder is the initial material that catches the spark and ignites the fire. It’s typically small, dry, and very combustible. This could be dry grass, leaves, or even paper if you’re in a pinch. The key is to have something that lights easily to get the fire started. Once the tinder catches fire, it will burn quickly and provide the necessary heat to ignite the larger pieces of kindling.

Kindling: Keeping the Fire Going

Once the tinder has caught fire, it’s time to add the kindling. This is slightly larger than tinder and is crucial for keeping the fire going. Kindling can be small twigs or branches, but it must be dry. You can also use a hand drill technique to create kindling. This is a primitive yet effective method that involves spinning a small stick or drill against a larger piece of wood to create friction and, eventually, a spark. It requires a bit more effort, but it’s a traditional fire-starting technique that can be handy in survival situations.

Firewood: The Main Fuel

Firewood plays the role of the main fuel source in your fire. Larger than kindling, these pieces of wood provide the long-lasting, sustained heat that makes a campfire so enjoyable and useful. The best choice for firewood is seasoned firewood. This type of wood has been allowed to dry for several months, which makes it burn longer and cleaner than fresh wood. Hardwoods like oak and beech are excellent choices, as they burn for a long time and produce a lot of heat. But, regardless of your choice, ensure your firewood is as dry as possible for the best results.

Dryer Lint as Fire Starter

You might be surprised to learn that a common household waste product, tumble dryer lint, is an excellent fire starter. It’s lightweight, easy to pack, and highly combustible, making it an ideal tinder material. To use dryer lint as a fire starter, simply collect the lint from your tumble dryer’s lint trap and store it in a small, waterproof container. When you’re ready to start your fire, fluff up a handful of lint and use it as your initial burn material. It catches fire quickly and burns long enough to ignite your kindling.

starting a fire

Six Effective Fire Starting Techniques for Campers

As a camper, one of your essential skills should be starting a fire. This skill can save you in emergencies, keep you warm, and help cook your food. But starting a fire isn’t always as easy as it seems. You have to understand the basics, gather the right materials, and apply the appropriate technique. Here are six effective fire-starting techniques you can use to ensure a successful camping experience. Remember, dry leaves can be an excellent tinder for these techniques.

1. The Hand Drill: A Primitive Fire Starting Method

One of the oldest and most primitive methods of starting a fire is the hand drill technique. This method involves using two sticks to create friction and generate heat. While it requires a bit of effort and practice, it’s a rewarding way to start a fire. Here are some campfire tips and tricks when using this method. First, choose a dry, straight stick for your drill and a flat piece of wood for your fireboard. Create a small notch in the fireboard and spin the drill in it rapidly using your hands. The friction will produce an ember, which you can transfer to your tinder to start your fire. Remember, starting a fire with sticks in this way is a primitive method that requires patience and practice.

2. Fire Plough: An Ancient Fire Making Technique

The Fire Plough (or plow) is another ancient technique that can be useful on your camping trips. This method involves rubbing a stick against a groove in a piece of wood. The friction generates heat, creating an ember that can light the tinder. To make this method work, grip the steel firmly and slide it along the groove quickly. Then transfer the resulting ember to your tinder and blow gently until a flame is formed. It’s a simple and effective way to start a fire, especially when other means aren’t available.

3. Bow Drill: A Reliable Fire Starter

If you find the hand drill method too tiring, the bow drill might be a better option for you. This method involves creating friction between a bow and a drill. The bow, typically a curved piece of wood with a string attached at both ends, is moved back and forth, spinning the drill against a fireboard. This friction generates heat, creating an ember that can be transferred to a tinder bundle and gently blown into a flame. To increase the stability of your setup, you can use a flat rock as a bearing block to hold the drill in place.
lady flint and steel 2

4. Stone and Steel: A Classic Fire Starter

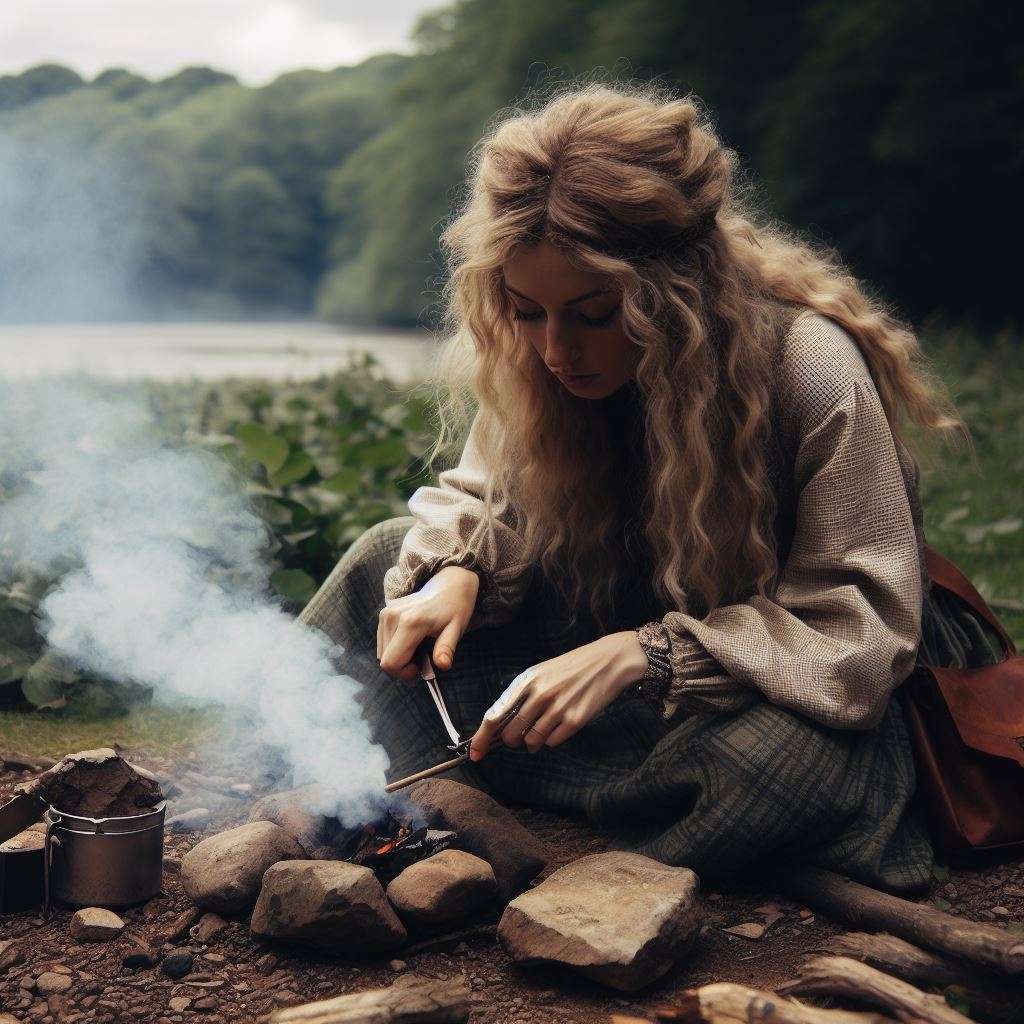
Stone and steel is a classic fire-starting method that’s been used for centuries. It involves striking a piece of steel against a flint stone to create sparks. These sparks can be caught in a char cloth or other highly combustible material. Once the sparks ignite the tinder, you can add kindling to build your fire. The advantage of this method is its simplicity and reliability. It does not require much effort and can be used in almost any weather condition.

5. Batteries and Steel Wool: A Modern Approach to Fire Making

One of the most innovative ways to make fire without conventional tools like matches or a lighter is by using batteries and steel wool. This method is simple but effective, requiring only a battery and a piece of steel wool. The wool should be approximately 6 inches long and at least an inch wide. To initiate the fire, the battery sides are rubbed across the steel wool, causing it to glow and eventually ignite. A 9-volt battery is generally recommended for this method as it tends to yield the best results.

6. Traditional Lenses: Using Sunlight to Start a Fire

Another effective fire-starting method for campers is using traditional lenses to focus sunlight and create heat. This is a method of making fire without matches or a lighter. It involves the use of a lens to focus sunlight onto a nest of tinder, causing it to ignite. This could be a lens from a pair of glasses, a magnifying glass, or even a clear water-filled bag. The concentrated beam of sunlight acts like a bow drill, creating an intense heat that can ignite the tinder. This technique requires patience and a sunny day, but it’s a satisfying and eco-friendly way to start a fire.
Building Your Campfire: A Step-by-Step Guide

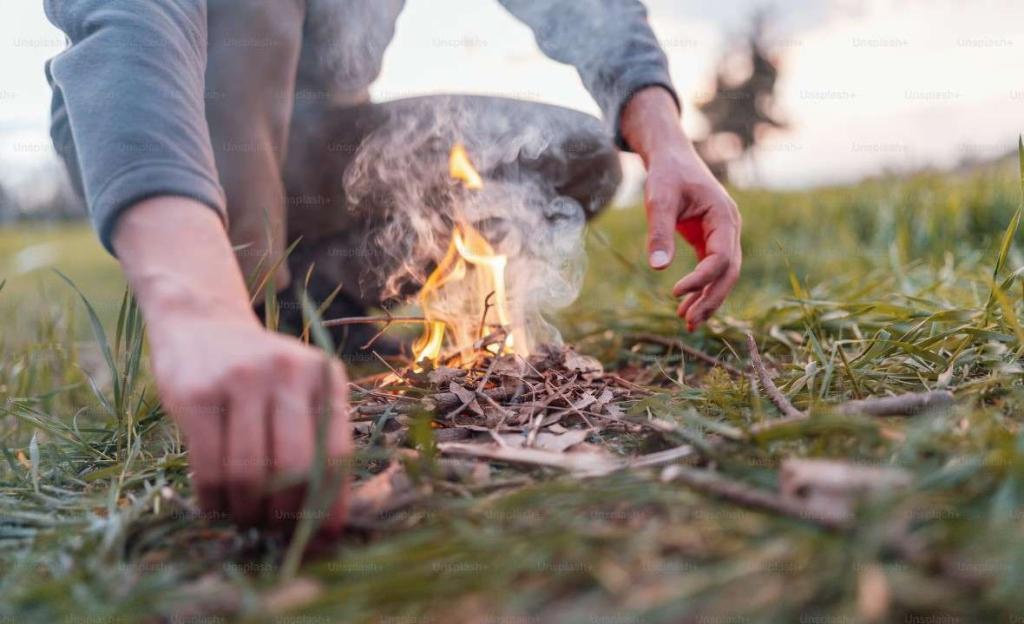
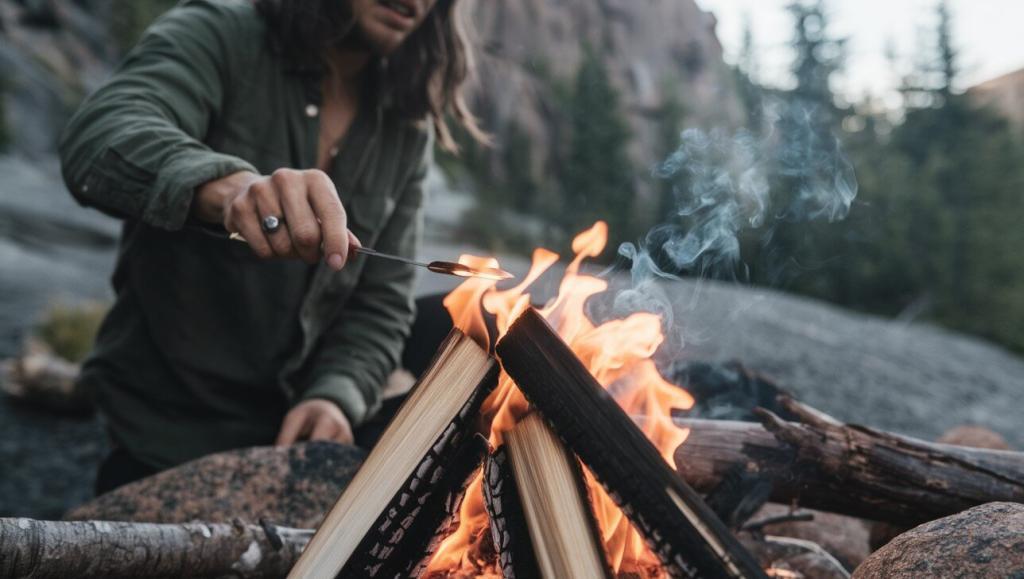
Understanding the process of fire starting is just the first step. The next important step is to learn how to build a campfire. This involves a series of steps, starting from selecting the right spot to ensuring that the fire burns safely. The first step is to find or make a clearing for the fire. A campfire should be constructed on bare dirt, away from any flammable debris. The next step is to collect tinder and kindling. Tinder catches fire easily and helps ignite the larger kindling. The kindling is then added to the fire gradually until the fire is stable. Lastly, firewood is added to ensure that the fire burns for a longer period. Remember, patience is key when building a campfire.

Setting up the Fire Ring

The fire ring plays a crucial role in keeping the fire contained and preventing it from spreading. It’s essential to set up the fire ring correctly to ensure the safety of everyone around. The fire ring should be built on bare dirt, with a dent in the centre to collect the ashes. It’s also important to surround the fire ring with medium-sized stones to further contain the fire.

Essential Tips for Building a Fire Ring

When building a fire ring, there are a few essential tips to keep in mind. First, ensure that the fire ring is far enough away from any tents or flammable materials. Second, make sure that the stones you use to surround the fire ring are dry to prevent them from cracking in the heat. Lastly, always have a bucket of water or a fire extinguisher close by in case the fire gets out of control.

Chop and Prepare Your Kindling

Kindling plays a vital role in starting a campfire. To get your fire going, you will need to break down larger logs into smaller pieces. This is where a hatchet comes in handy, helping to create smaller, thin pieces known as kindling. It’s best to prepare a few handfuls of kindling before you start your fire. However, if you’re in an area with restrictions against gathering debris, small twigs and sticks can be a useful alternative. Always remember to gather and prepare your materials responsibly.

Use a Firestarter for Easy Ignition

Once your kindling is ready, the next step is to initiate the fire. A firestarter can simplify this process. There are many options available, from crumpled newspaper to more creative DIY methods, like cotton balls soaked in Vaseline. You can also explore natural options like witch’s-hair lichen or beard lichen, which catch fire easily and work well as fire starters. The key is to use something that ignites quickly and can help set your prepared kindling aflame.

Stacking Your Fuel Efficiently

Arranging your fuel efficiently is crucial to a successful campfire. Start by placing your kindling in the centre of your fire ring. This will create a heart for your fire, allowing it to catch easily. Then, add your larger logs. Remember, the size and shape of your fuel can greatly influence how easily it catches fire. Thicker logs will absorb more heat before reaching the required 300°F, taking longer to ignite. Also, avoid using wet wood as it’s difficult to burn and can create unnecessary smoke.

Safely Starting Your Fire

Starting your fire safely is paramount. Techniques such as the bowdrill, hand drill, fire plow, and fire saw, which rely on creating friction between two pieces of wood, can be an effective and safe way to start a fire. The bowdrill, for example, uses a bow and a drill to generate heat, creating an ember that can be transferred to a tinder bundle and gently blown into a flame. These methods require effort but offer a direct connection with the fire-making process and are a safe option for campers.

Feeding Your Fire to Keep it Burning

Once your fire is lit, the job isn’t over. You need to feed your fire to keep it burning. This involves adding more fuel in a controlled manner, ensuring the fire doesn’t die out, but also doesn’t grow too large and become a safety hazard. Techniques like the hand drill method, which requires manual power to spin the drill, are effective in maintaining a steady flame. Always remember to monitor your fire, adding more fuel as needed, but never leave it unattended.

Fire Building Configurations for Different Needs

When camping, knowing different fire building configurations can enhance your camping experience tremendously. Each configuration serves a different purpose and is suited for various conditions. The following techniques can help you decide the best configuration for your needs.

The Log Cabin: Ideal for Long, Steady Burns

For long and steady burns, the Log Cabin configuration is ideal. Starting a fire using this method is quite straightforward. You need to place pieces of firewood parallel to each other in the centre of your fire ring. Then, add two more pieces of firewood at right angles on top of the first two, imitating the structure of a log cabin. The pattern continues, gradually reducing the gap between the parallel pieces of firewood. The arrangement allows for good air circulation, which is essential for a fire to burn. Add your tinder and kindling in the centre of the structure and ignite it. As the fire burns, the structure will eventually collapse into hot coals, onto which you can add more wood if needed.

The Lean-To: Perfect for Windy Conditions

For windy conditions, the Lean-To configuration is perfect. Starting a fire with this method involves leaning your kindling against a larger fire log. The positioning protects the fire from the wind, allowing it to catch and grow. This method is also advantageous when you want to cook food, as the larger log acts as a shield, creating a hotter and more focused flame on one side.

The Cone: Excellent for Quick, Hot Fires

The Cone configuration is excellent when you need a quick and hot fire. For this method, you begin by placing your tinder in the middle of your fire pit. You then lean small kindling in a conical shape over the tinder. Larger kindling and firewood are added over this, maintaining the cone shape. This configuration allows the fire to catch quickly from the tinder and spread upwards, providing a hot and fast-burning fire.

The Pyramid: Great for Long-lasting Fires

For a fire that lasts a long time, the Pyramid configuration is great. You start by placing your largest logs side-by-side at the bottom. You then stack smaller logs on top, building a pyramid. As the fire burns, it’ll gradually ignite the larger logs, providing a long-lasting source of heat. This configuration is particularly useful for an overnight campfire or when you need coals for cooking.

The Rocket Stove: An Efficient Fire Building Technique

When it comes to building an efficient fire, the Rocket Stove is an excellent choice. This fire building technique is known for its efficiency and minimal use of fuel. It starts with a vertical tube, which is the main combustion chamber. At the bottom of this tube is an opening where air gets pulled in, providing the necessary oxygen for the fire. The wood or other fuel is fed into this opening, where it burns in the chamber. The heat rises up the tube, creating a powerful draft that pulls more air in, supporting the combustion process. The design of the rocket stove ensures that the fire burns hot and clean, with minimal smoke.

fire starting techniques for campers 4

Fire Safety Tips for Campers

Sitting around a roaring fire is a quintessential part of the camping experience. However, to ensure a safe and enjoyable time, it’s essential to follow certain fire safety practices. Always check for any fire bans or restrictions in the area where you’re camping. Even if there aren’t any bans, always be mindful of the conditions around you. If it’s particularly dry or windy, it might be best to forgo the fire. When you do build a fire, ensure it’s in a designated fire pit, away from any flammable materials.

Safe Fire Starting Practices

Safe fire starting begins with preparation. Gather all your materials – tinder, kindling, and firewood – before you start. Once you’re ready to light the tinder, make sure you have a means to quickly put out the fire if needed, such as a bucket of water or a fire extinguisher. It’s also essential to keep a safe distance from the fire and to supervise children and pets at all times. Remember, safety should always come first when handling fire.

Proper Campfire Maintenance

Once your fire is going, maintaining it properly is crucial. This includes adding firewood gradually to keep the fire at a manageable size. Keep your campfire tools and extra firewood at a safe distance from the fire to prevent accidental sparks from igniting them. It’s also essential to never leave your campfire unattended. If you need to step away, make sure someone responsible is there to keep an eye on it. This way, you can quickly address any issues that may arise and prevent them from escalating.

Responsible Campfire Extinguishing

When it’s time to extinguish your fire, do so responsibly. Start by letting the fire die down naturally. Then, slowly pour water over it, making sure all the embers and coals are soaked. Stir the ashes with a stick to ensure all hot spots are extinguished. Once you’re done, touch the ashes with the back of your hand to check if they’re cool. If they’re still warm, add more water and stir again. Remember, a key aspect of campfire safety is making sure your fire is completely out before leaving it.

Cultivate Patience: The Key to Successful Fire Starting

When it comes to starting a campfire, patience isn’t just a virtue, it’s a necessity. Unlike the instant gratification of flipping a light switch, creating fire is a process that can’t be rushed. In fact, rushing can often lead to frustration, wasted resources, and potential hazards.

Consider the method of using friction to create heat. Whether it’s the hand drill, fire plow, or any other primitive method, these techniques require a slow and steady rhythm. Moving too fast can cause the pieces of kindling to scatter, disrupting the process and needing to start all over again. Moreover, the heat generated by friction is gradual, it takes time for the ember to form.

Patience also extends to the materials you use. Quality fuel doesn’t necessarily mean the biggest logs you can find. It’s about gathering the right kind of materials in the right order: tinder, kindling, and then firewood. Each of these needs to be added at the correct time, with the fire being allowed to catch and grow before the next type of fuel is added.

Finally, remember that fire is a fickle friend. It can take time to coax it into life, and it will require continuous care to keep it burning. So, relax, enjoy the process, and remember that the end result – a warm, inviting fire – is well worth the wait.

Wrapping Up: Mastering Fire Starting Techniques for Safe and Enjoyable Camping Experiences

Whether you’re a seasoned camper or a novice outdoorsman, mastering the art of fire starting is an essential skill. It not only provides warmth and a means to cook food but also offers a sense of accomplishment and connection to the natural world. From understanding the basics of fire making, through selecting the right materials, to learning various fire starting techniques, each step requires patience, practice, and respect for the power of fire. So the next time you head out into the great outdoors, remember to pack your fire starting kit, your knowledge, and most importantly, your patience. Happy camping!


Camping Secrets - Outdoor Guides and Reviews
Logo